Natural Contouring: Highlight Your Face Shape in a Subtle and Harmonious Way


Natural Contouring: Highlight Your Face Shape in a Subtle and Harmonious Way
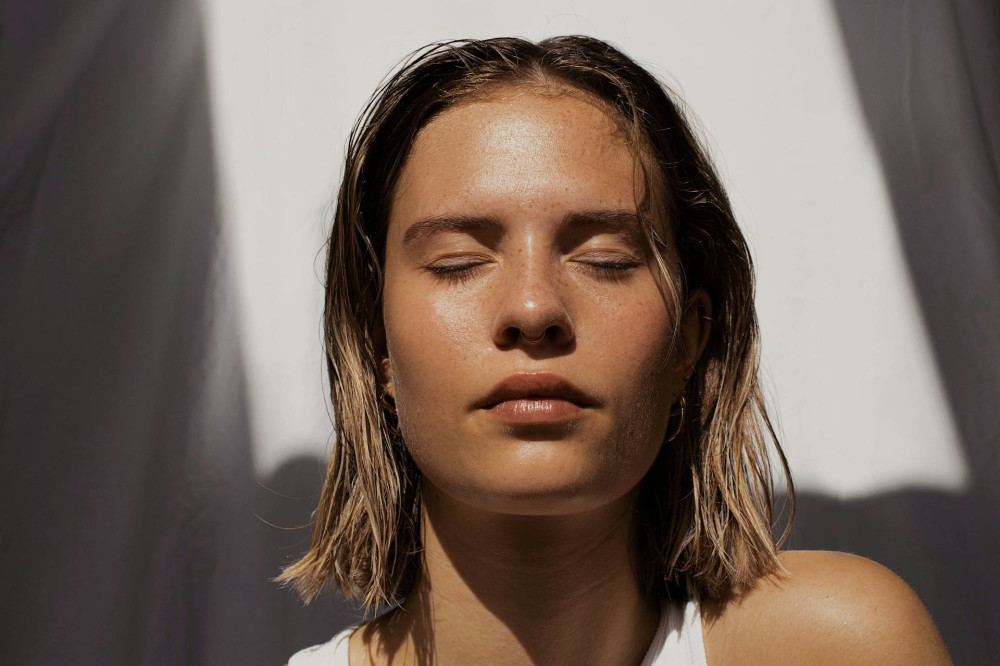
For years, contouring was all about sharp lines, dramatic shadows, and bold contrasts. But as beauty trends shift toward a more natural, skin-like finish, a new approach has taken center stage: natural contouring. This technique isn’t about reshaping your face—it’s about enhancing what’s already there in a soft, balanced way.
What Is Natural Contouring?
Natural contouring uses gentle shadows and highlights to add depth and definition without looking overly made up. Instead of drawing harsh lines, you blend soft transitions with products that melt seamlessly into the skin. The result is a fresh, balanced look that enhances your natural bone structure rather than masking it.
It’s a versatile method that works for everyday makeup as well as more polished looks—and it can be adapted to any skin type, tone, or age.
Understanding Your Face Shape
Before you start, it helps to know your face shape. This makes it easier to place shadows and highlights where they’ll look most natural.
- Oval face: This balanced shape needs only a touch of definition under the cheekbones and a bit of highlight along the nose bridge and cheekbones.
- Round face: Add subtle shadows along the sides of the cheeks and jawline to create more structure.
- Square face: Soften angles with contour along the jaw and temples, and bring light to the center of the face.
- Heart-shaped face: Balance a wider forehead and narrower chin with a bit of contour at the temples and a soft highlight on the cheeks.
Knowing your face shape isn’t about changing it—it’s about understanding how light and shadow naturally fall on your features.
Læs også:


Choosing the Right Products
Product choice is key to achieving a natural contour. Look for creamy or lightweight powder formulas that blend easily and leave a soft, skin-like finish.
- Contour product: Choose a shade one to two tones deeper than your skin tone, ideally with a neutral or slightly cool undertone for realistic shadows.
- Highlighter: Skip heavy shimmer. A subtle, satin finish gives a natural glow without looking glittery.
- Blush: A muted, natural shade ties the contour and highlight together and adds life to the face.
Use your fingers or a damp makeup sponge to blend—this helps the products melt into the skin more naturally than a dry brush.
Step-by-Step Guide
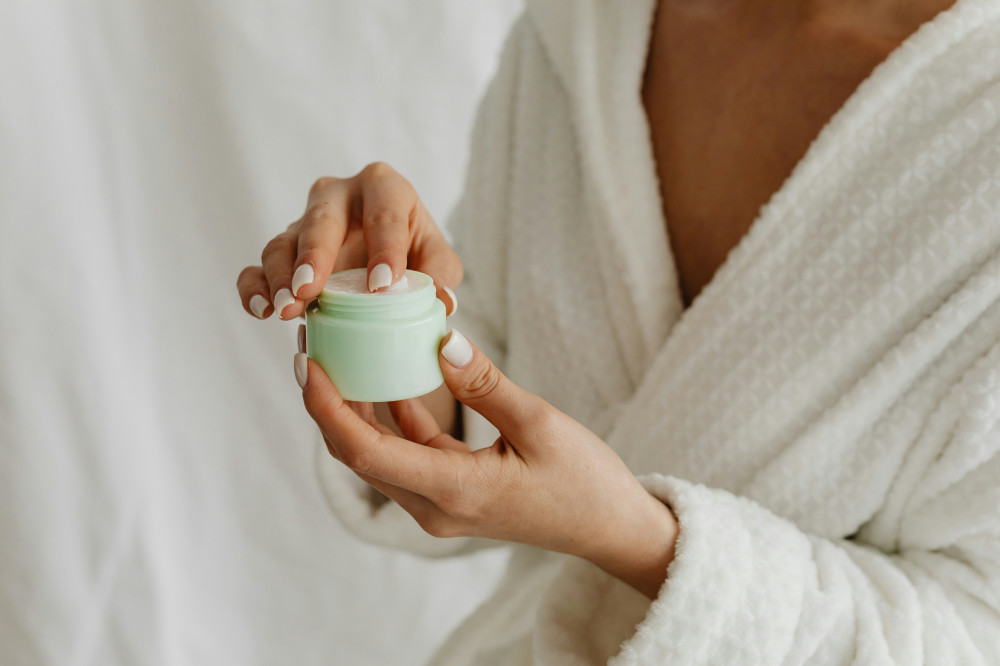
- Prep your skin: Start with moisturizer and, if you like, a lightweight primer. Healthy, hydrated skin is the best base.
- Apply contour: Add a small amount under the cheekbones, along the jawline, and at the temples. Blend thoroughly until there are no visible lines.
- Add highlight: Apply a touch of light to the bridge of the nose, tops of the cheekbones, and cupid’s bow. It should mimic natural light, not shine.
- Finish with blush: Sweep color onto the apples of your cheeks and blend upward toward the temples for a lifted effect.
- Set your makeup: A light setting spray can help everything blend together and last longer.
Less Is More
The biggest difference between traditional and natural contouring is the amount of product used. The goal is to use as little as possible—build gradually rather than applying too much at once. You shouldn’t be able to tell where the contour begins or ends.
A good trick is to check your makeup in natural daylight before heading out. It quickly reveals whether your blending is seamless or if you need a little more softening.
A Technique That Enhances, Not Hides
At its core, natural contouring is about embracing your unique features. Instead of altering proportions or hiding anything, it’s about creating harmony and highlighting what’s already beautiful. It aligns perfectly with today’s focus on authenticity and individual beauty.
Once you master the technique, you’ll see how a touch of contour and light can make a big difference—not because you look different, but because you look more radiant, balanced, and confident.
Læs også: